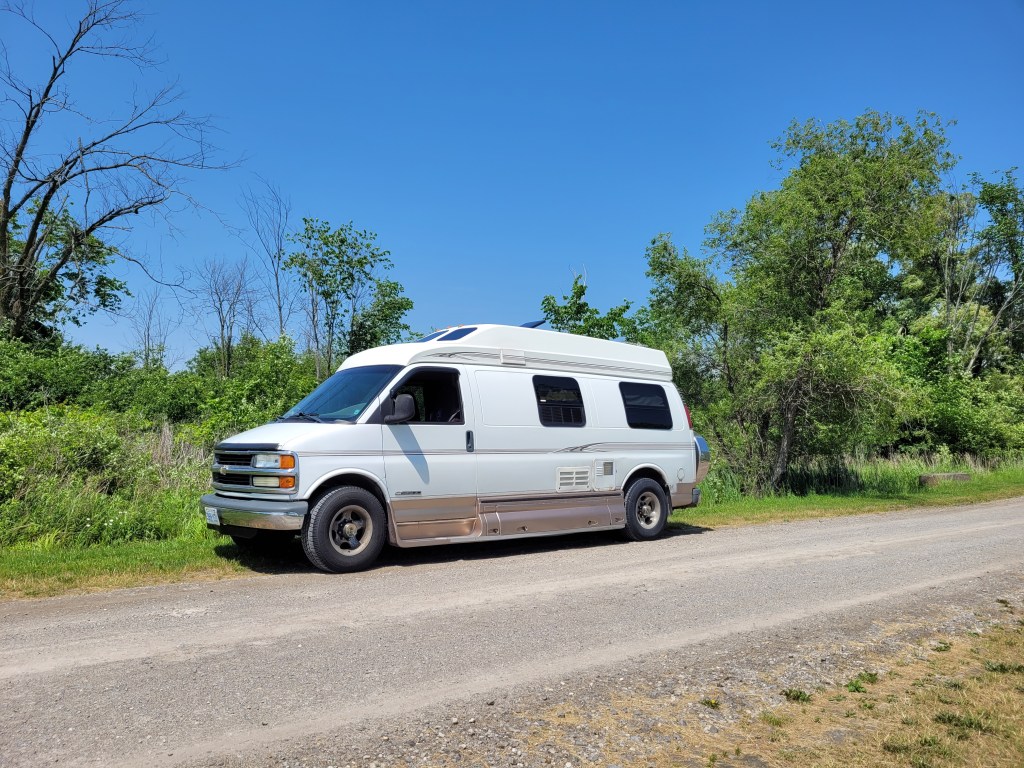
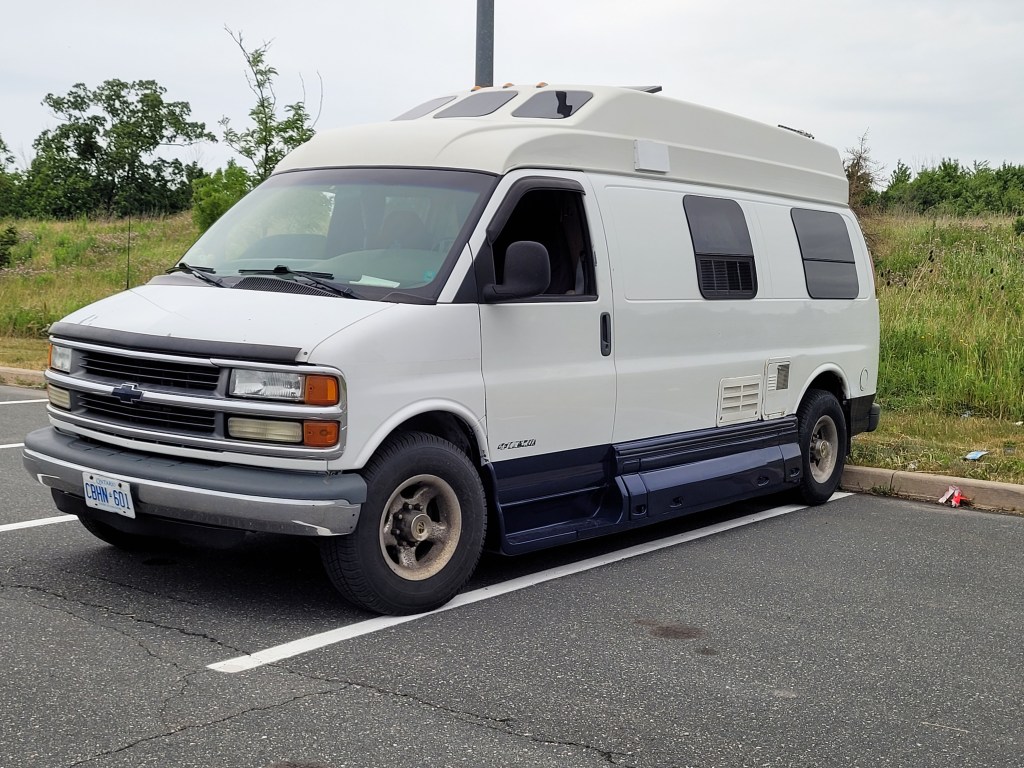
My Roadtrek renovation continues to the outside of the van. In last week’s blog, I shared what I had done to the inside of my Roadtrek to give it a fresh new look. I loved the way the interior turned out so much that I decided to paint the exterior. It was getting rusty in spots, and the paint was peeling in places. It was time for a redo. A paint job is expensive and can run you $5,000 to $10,000. There has to be a cheaper way. It does not have to be show quality, but it needs to look nice.
When thinking about auto body and paint, my first call is to my friend Mike. He suggested we Tremclad it. Hahaha! Really?? Can we Tremclad it purple? Yes, we can. Ohhh I am excited!!
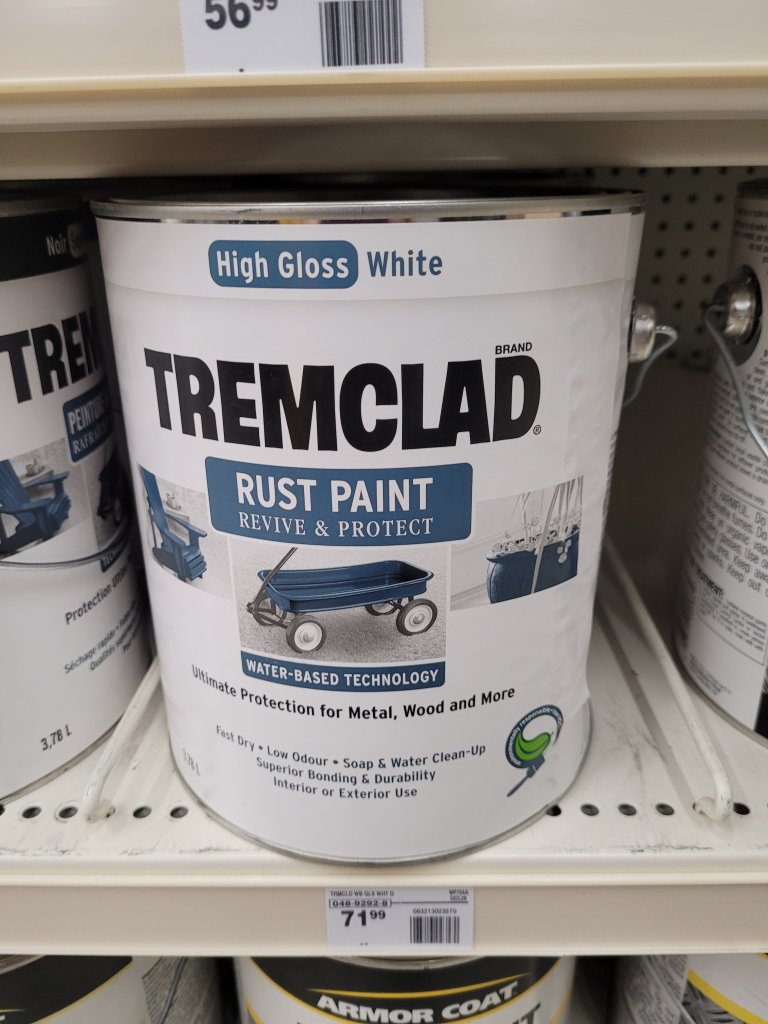
What is Tremclad? Tremclad is a rust inhibitor paint. Its primary use is painting outdoor tools, toys, and metal furniture. If it is metal, you can apply it. It comes in many colours, purple not being one of them, but red and blue do make purple. This could work.
The Outside Roadtrek Renovation Begins
The real work starts long before the painting begins. The brown pinstriping would certainly not go with the purple basement. It was old, and the clear was not clear anymore. We could not paint over it. It had to come off.
With a little (well, maybe a lot) help from my friends, I was transforming my home into my vision. I spoke of my friend Mike. He would lead and guide us in the quest to turn my RV from a brown Roadtrek to a purple Roadtrek. He would also be the one to paint the basement purple. My friend Tom (pictured below) volunteered to help in the transition, my friend Kim would deliver meals and needed supplies, and my friend Derek would make the new decals. None of this would have been possible without them.

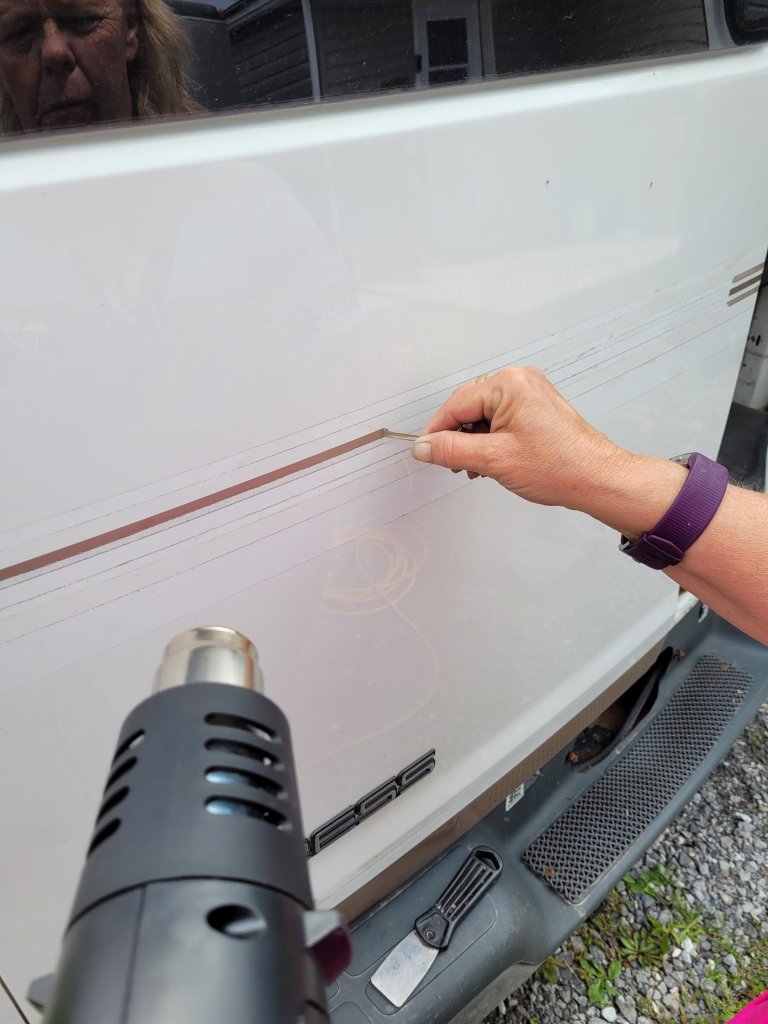
Removing the Pinstriping
Removing the pinstriping is a slow task. Heating the panel and the strips with a heat gun, scoring it or making an edge in the line with a scraper to get it started and trying to keep a constant temperature as you pulled the pinstriping off the van was a challenge. Different lines came off differently. The darker the line, the smoother you could take it off. The smoothness of the removal also depended on the thickness of the pinstriping, where it is positioned on the van, as to how smooth it would come off. It was harder to take off the pinstriping on the fibreglass top than it was on the metal body of the van.
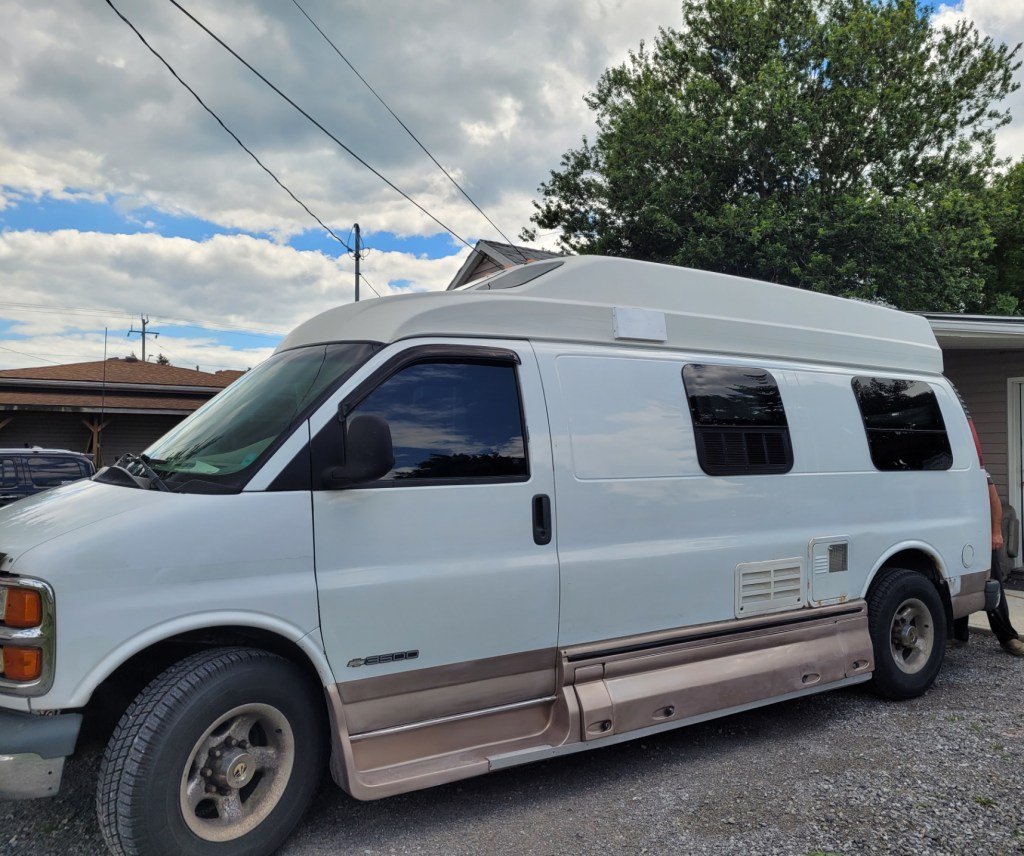
It took three days to remove all the decals from around the van. Taking off the glue with paint thinner was a smelly but efficient way to get it off.
It took 2 ladders and a little balance to get the ones off the top! It’s a lotta van! Lol! The removal is complete.
Prepare the Bottom for Paint
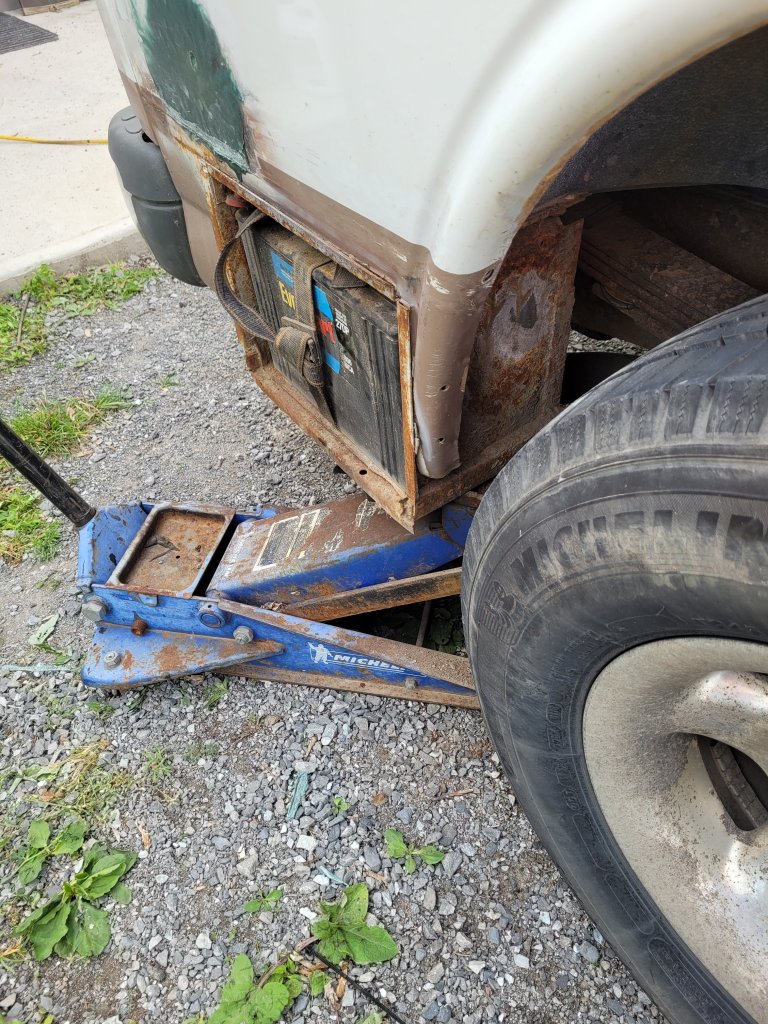
Next came the scuffing of the brown along the bottom of the van. A scotch green scour pad and some powder comet will scuff up the existing paint enough to get the new paint to stick. Clean the surface well, and it is ready for paint. Everything was moving right along, but you know there is always going to be some sort of snag. The house battery cover is crooked and hard to get on and off. We also noticed the bumper pushed in a little on that side. Someone did not watch their blind corner when backing up. Not me, just sayin.
The bumper has a little rust, and since we would have it all apart anyway, let’s find a new or good used one to replace it. After an unsuccessful trip to the scrap yard and a good look at the bumper, we discovered that we would have to remove the propane tank to get the bumper off. Ohhhh no. We are not doing that. There must be another way to fix the battery cover. Maybe we could pull the bumper out a bit? Trim the cover? Hmmm, interesting dilemma.
There has to be a Better Way
After fighting to get the cover off, we discovered the real problem, which was not the bumper at all. The battery box itself had broken at the top bracket and was now offset. That’s why the cover was sitting a little crooked and so hard to get on and off. It was pretty rusty all around, but with that front top bracket broken, it became dangerous. If I had been going down the highway and the other bracket had broken, it would have been a serious loss of house power and a danger to whoever was driving behind me.
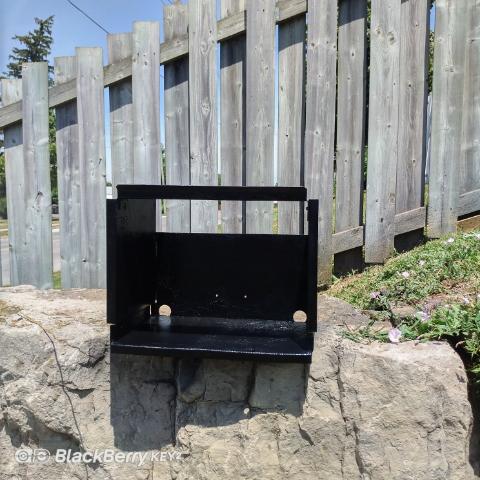
Removing the battery box, Tom welded a new bracket to the top, gave it a good sand and painted it with Tremclad to keep the rust at bay. It looks like a new battery box. Ohhh, we are cookin’ with gas now, as my Dad used to say!
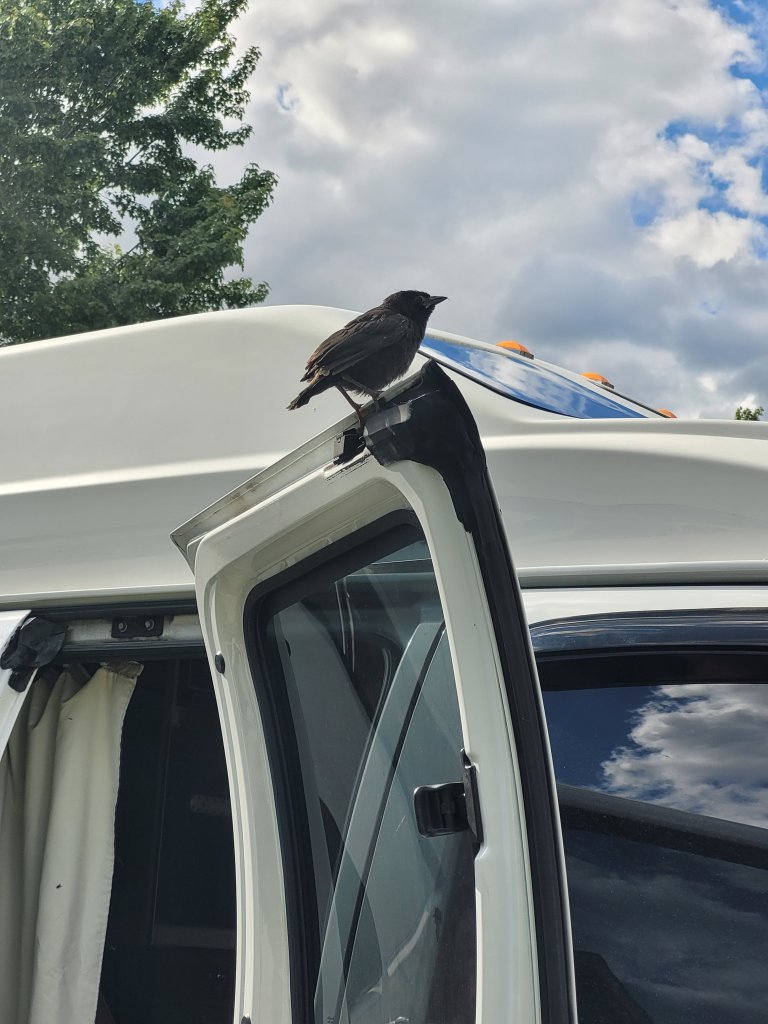
A Feathered Friend Comes to Visit
While Tom was working on the battery box, I continued the scouring and scuffing when a baby bird came to visit. He was a mouthy little thing and had a lot to say. Lol! There is a saying in Europe that if a blackbird lands on your ship, you should not sail, or your ship will sink. I was not going anywhere for at least a day, so that was not an issue. Now, his flying in the van was maybe an issue. We talked about no birds in the van, and with a last squawk, he flew away. Free as a bird! It was a nice little visit from a feathery friend.
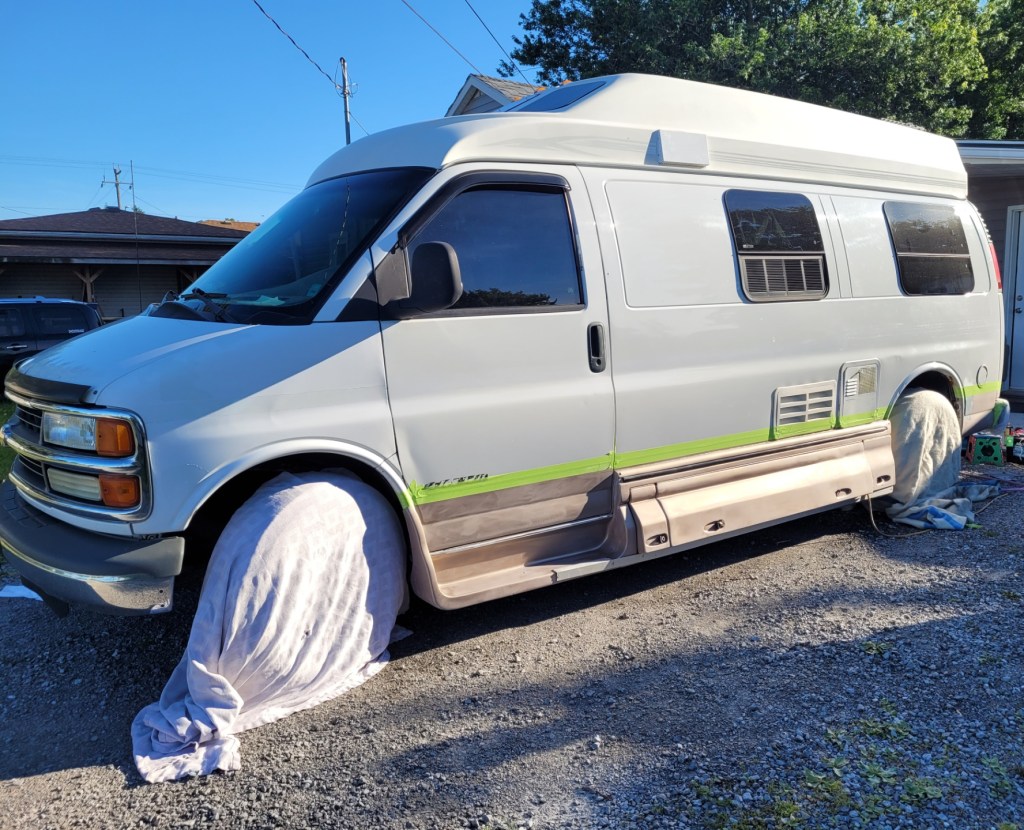
My Roadtrek is Ready for Paint
All taped up and ready to paint. Mike decided he could spray the purple paint on the bottom. Pheww! My biggest worry was my painting skills, which are passable but messy. With fingers crossed that this was all going to look as good as it did in my mind, we were ready for the transformation!
With the purple applied, I will tell you I cried! I just could not believe the difference! With the rust holes gone and the bottom a beautiful sparkly purple, the difference was amazing! Even with the white not done yet, it was everything I imagined she could be!
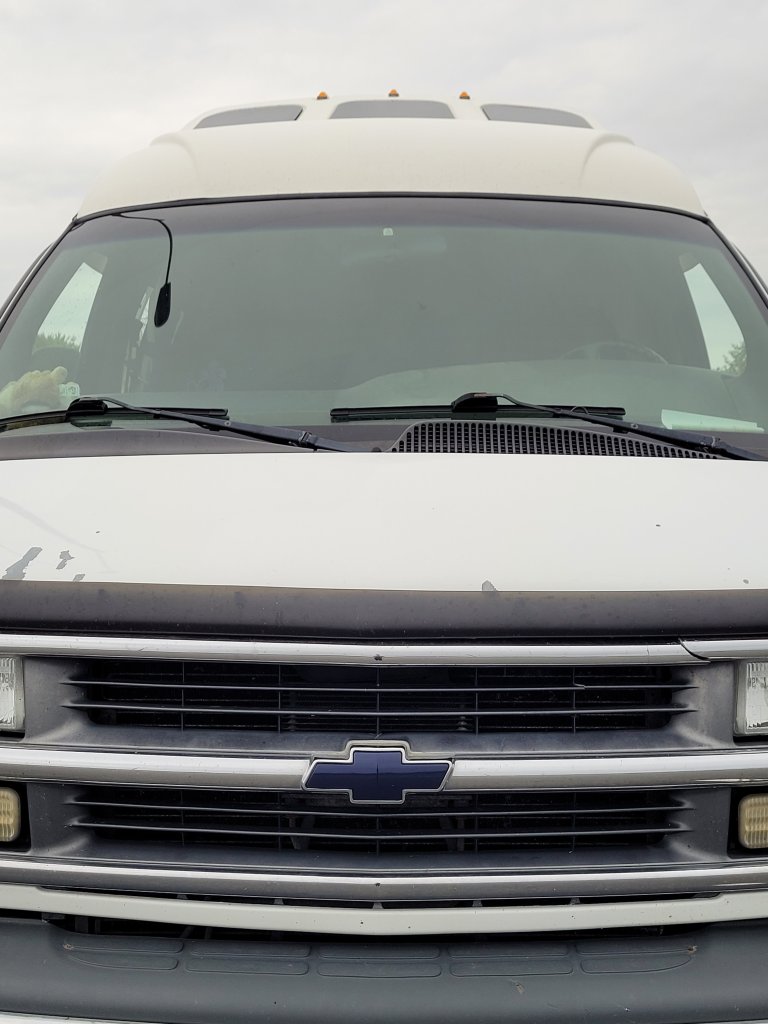
We even painted the Chevy symbol of the front purple!
Painting the Body of the Van
With the body ready for paint, using foam rollers, we started at the front of the van. As we carefully started painting the passenger side fender and hood, we noticed something was not right. The paint was not laying flat and had roller marks, and the paint had stipples in it. We applied two coats of paint to the hood and front fenders, but it still did not look like it should. It was now late in the day and time to stop. After Tom left, I decided to give it another couple of coats to see if more paint would fix it. That did not work. Something was not right, and I would wait and talk to Mike.
After a lengthy discussion about what could be the issue because, frankly, it looked like yuck. We discovered I had bought the wrong paint. I had bought three cans of paint that day, white, blue and red. The blue and red he had used to make the purple was an oil-based paint, which was what I needed. We then noticed the white I bought was water-based paint, which explains a lot. When we were applying it on the metal, it was drying so fast that by the time you took a second swipe to even it out, the first layer had dried a little. It was not the foam roller making the stipple marks. It was the paint.
By the time we discovered this, it was after 10:00 p.m. The paint stores were closed. It would have to wait until morning. I would have to sand and clean the whole van again. Friday was going to be a busy day. Saturday it was supposed to rain and, by golly, it was going to get done.
A Race With Mother Nature
Friday was a busy day. Cleaning and sanding the van everywhere we had painted was a long process. After getting the right oil-based paint, it was getting into the early evening. By 9:00 p.m. the sun was starting to go down, and I was about 3/4 the way around the van. By the time I got to the middle of the panel and the driver’s door and fender, it was dark. A beautiful orange moon was my only light. I was not sure how it would look in the morning, but I hoped I had not missed any or much of the painting surface.
The next morning I awoke to a beautiful sight. The paint was smooth and drying nicely. There was not a rain cloud in the sky and my Roadtrek looked beautiful. I was so proud. My effort and those of my friends paid off magnificently.
The Final Touches of my Roadtrek Renovation
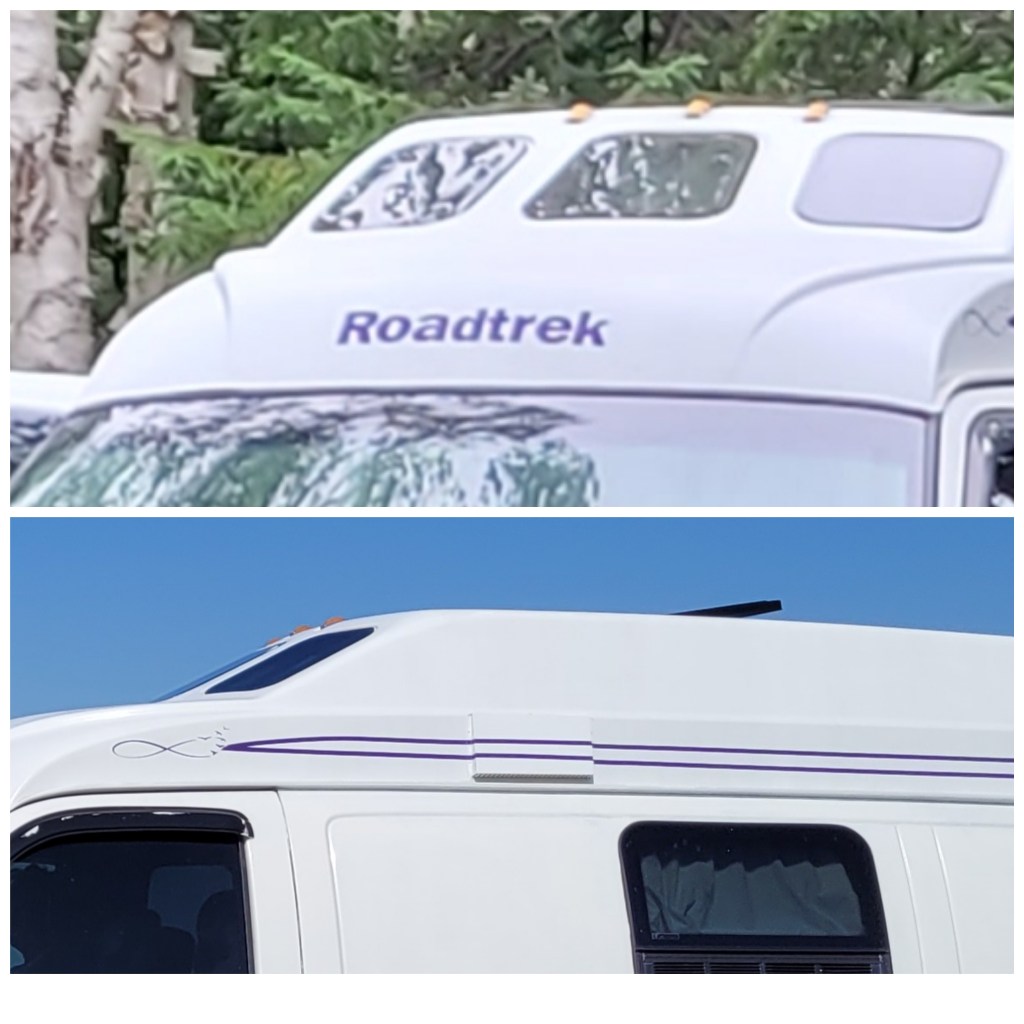
It would be four days of completely drying the paint before we could put the decals that Derek had made me on the van. I was so excited to see her done. The large Roadtrek decal on the front and the beautiful eternity symbol with the birds leading the way is a wonderful addition to my new design.
My new design was complete just in time for a Road trip with Kim to Newfoundland.
Make sure to check out this excellent Chipmunk Adventure here.
The transformation of my van Chipmunk and this Chipmunk in the last few weeks has been inspiring! None of this would have been possible without the support of my kids and my good friends, who are my family! I am so blessed to have these people in my life standing by my side! 💜
Thanks for coming along on my Chipmunk Adventure!
See you next week.
🐿
Love this Blog!

Thank you for the coffee. I appreciate every one of them.

That looks incredible Stacey
LikeLike
Thank you Charlie! I just love it!
LikeLike
Coming along nicely!!!!
LikeLike
Oh yes it is! I am so excited for when it is done. Hopefully within the next 2 weeks.
LikeLike
It’s coming along. A great read.
LikeLike
Thanks Dan!
LikeLike
What oil based paint did you use to roll on the body?
LikeLike
I used Tremclad Rust paint
LikeLike